
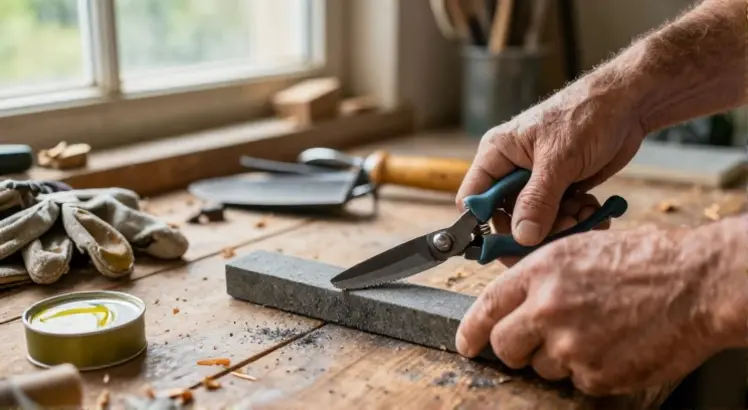
Keeping your pruning shears sharp is one of the simplest ways to maintain a healthy garden. Dull blades crush stems rather than slicing cleanly, which can lead to disease and slow plant recovery. In this guide, you’ll learn how to sharpen pruning shears safely, using basic tools you likely already own.
Before you sharpen, it helps to know the right way to hold and cut. If you are unsure about proper cutting techniques, check out our guide to using pruning shears properly. Now, let’s get those blades razor sharp.
Why Sharp Pruning Shears Matter
Sharp shears make a world of difference in your garden. A clean cut heals faster and reduces the risk of fungal infections. When blades are dull, they pinch and tear plant tissue, leaving jagged wounds that invite pests and disease.
You will also notice less hand fatigue. Sharp blades glide through stems with minimal effort. Dull shears require you to squeeze harder, which can strain your wrists during long pruning sessions.
Finally, regular sharpening extends the life of your tool. A well-maintained pair of pruners can last for decades, saving you money and reducing waste.
Tools You’ll Need to Sharpen Pruning Shears
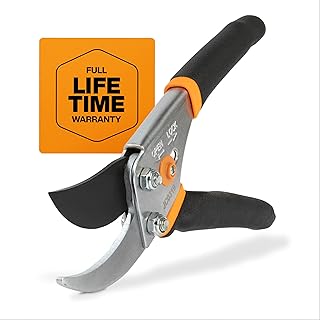
Fiskars Bypass Pruning Shears, 5/8″ Cut Capacity Gardening Scissors
Check Price- A medium or fine mill file (8-10 inches) or a diamond sharpening stone
- A wire brush or old toothbrush for cleaning
- Warm, soapy water and a rag
- Lubricating oil (3-in-1 oil, WD-40, or camellia oil)
- Screwdrivers or a wrench to disassemble the shears
- Safety gloves to protect your hands
- A vise or clamp to hold the blade steady
Most of these items are already in your toolbox. A simple mill file is often the best choice because it matches the slight curve of bypass pruner blades.
Understanding Pruning Shear Anatomy
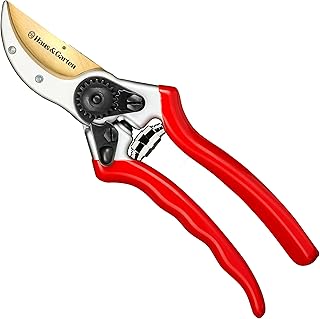
Haus & Garten ClassicPRO 8.5″ Professional Premium Titanium Bypass Pruning Shears
Check PriceBefore you start grinding metal, it pays to know which part to sharpen. Most hand pruners are bypass shears, meaning they have one curved blade that slides past a thicker hooked counter-blade. The cutting blade is beveled on only one side, while the flat side faces the branch.
You only sharpen the beveled edge, never the flat back. The bevel angle is typically between 20 and 30 degrees. Match that factory angle exactly. The exact angle may vary by manufacturer, so it is wise to consult the sharpening hand tools recommendations for your specific tool.
If you have anvil pruners, the blade has a bevel on both sides, but the sharpening process is similar. Focus on the cutting blade, not the anvil.
Step-by-Step Guide to Sharpening Pruning Shears
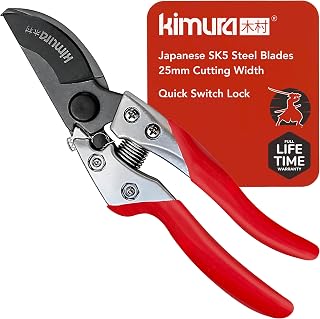
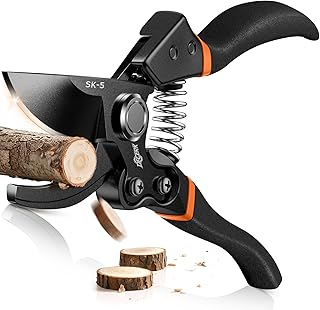
Kimura® 8″ Pro Bypass Pruning Shears, Heavy Duty Japanese SK5 Steel Blades
Check Price1. Disassemble the Shears
Remove the central nut or screw that holds the two blades together. Set the hardware aside in a small dish so nothing gets lost. Separating the pieces allows you to clean and sharpen each component thoroughly, especially the cutting blade.
2. Clean the Blades Thoroughly
Plant sap, rust, and grime accumulate on the blades over time. Soak the blades in warm, soapy water for a few minutes, then scrub with a wire brush or old toothbrush. Dry everything completely with a rag before you move on. Any moisture left behind can cause rust.
3. Secure the Blade
Place the cutting blade in a vise with the beveled side facing up. If you do not have a vise, grip the handle firmly and brace the blade flat on a workbench. A stable blade makes sharpening safer and more precise.
4. Sharpen the Beveled Edge
Hold the mill file or diamond stone at the same angle as the factory bevel. Push the file along the edge in one direction, moving from the base of the blade toward the tip. Use smooth, consistent strokes. Lift the file off the blade when you return to the starting point; never drag it backward over the edge.
Pro tip: Color the bevel with a permanent marker before you start. As you file, the marker disappears, which helps you maintain a consistent angle. A diamond stone or whetstone gives a finer edge, but a mill file is quick and perfectly adequate for garden tools.
Continue filing until you see a bright, fresh metal line across the entire bevel. Count your strokes on one side if you want to keep them even. A medium file removes metal quickly, while a fine stone gives a polished finish.
5. Remove the Burr
After sharpening, a tiny wire edge, called a burr, appears on the flat side of the blade. Carefully run a fine file or sharpening stone flat against the back of the blade a couple of times to knock it off. This ensures a clean, surgical edge.
6. Reassemble and Lubricate
Put the shears back together, tighten the pivot nut just enough so the blades move smoothly without wobble. Apply a few drops of oil to the pivot area and wipe a light film over the blades to prevent rust. Open and close the shears several times to work the lubricant in.
Test the sharpness by cutting a piece of paper or a thin, green twig. A clean slice through a thin green twig confirms a good edge. If the shears still mangle the cut, repeat the sharpening process with a finer stone. A properly sharpened pruner should slice cleanly with almost no resistance.
How Often Should You Sharpen Pruning Shears?
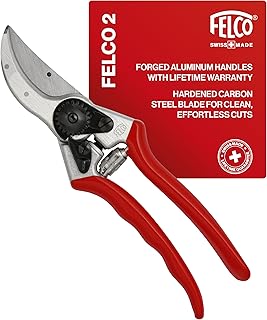
Felco F2 Pruning Shears – 9.25″ Swiss-Made Garden Clippers
Check PriceThere is no fixed schedule, but a good rule is to touch up the edge after every 8 to 10 hours of use. You will know it is time when the shears start to crush instead of cut, or when you have to squeeze noticeably harder. Heavy use, cutting gritty stems, or hitting hidden wire can dull blades faster.
For a home gardener, sharpening twice a season is usually enough. Give them a quick clean and oil after every use, and you will extend the time between full sharpenings.
Common Mistakes to Avoid When Sharpening Pruning Shears
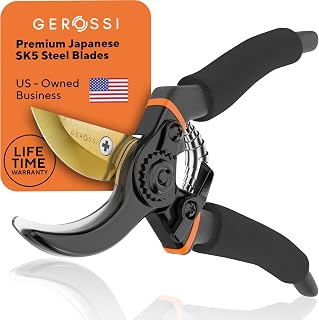
Premium Bypass Pruning Shears for your Garden
Check Price- Sharpening the flat side of the blade. This ruins the tool. Only the beveled edge needs attention.
- Using the wrong file. A file that is too coarse leaves a rough edge that tears plant tissue. Stick with a medium or fine file.
- Forgetting to clean first. Sap and dirt clog the file and prevent good contact with the metal. Always clean blades before sharpening.
- Changing the factory bevel angle. Follow the existing angle. Altering it may weaken the edge or make cutting awkward.
- Over-tightening the pivot after reassembly. If the blades bind, you will strain your hand. Adjust for smooth opening and closing.
- Neglecting to oil the blades. Dry steel rusts quickly. A light coat of oil protects your investment.
If sharpening does not restore cutting performance, you might be due for a new pair. Our list of the best bypass pruning shears will help you find a durable option.
Frequently Asked Questions
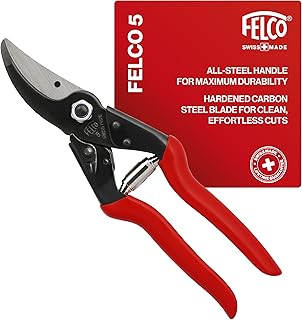
Felco F5 Pruning Shears – 8.9″ All Steel Large Swiss-Made Garden Clippers
Check PriceCan I sharpen pruning shears without taking them apart?
Yes, but it is not ideal. Keeping the shears assembled makes it hard to clean the pivot area and reach the heel of the blade. However, for a quick touch-up in the field, you can run a small diamond hone along the bevel while holding the tool open. Disassembling gives a better, longer-lasting edge.
What is the correct angle for sharpening pruning shears?
Most bypass pruners have a bevel angle between 20 and 30 degrees. The safest approach is to match the existing bevel. Do not attempt to create a steeper or shallower angle, because that can ruin the blade geometry. If you lose the reference, a 25-degree guideline works for many models.
Can I use a Dremel or power grinder to sharpen pruning shears?
A Dremel with a fine grinding stone can work, but you must be extremely careful. The high speed generates heat that can destroy the temper of the steel, making the edge soft and useless. Use the lowest speed, dip the blade in water frequently to keep it cool, and finish by hand. Manual sharpening with a file is safer for beginners.
Keep Your Shears Sharp for a Healthier Garden
Learning how to sharpen pruning shears is a small investment of time that pays off in healthier plants and more enjoyable gardening. With just a file, some oil, and a few minutes of care, you can restore a dull, frustrating tool to a precision cutter.
Regular maintenance, proper cleaning, and correct technique are the keys. If you notice your shears still fail after sharpening, it might be time to upgrade. Explore our recommendations for the best bypass pruning shears to find a pair that will serve you for years.
Remember, a sharp tool is a safe tool. Take your time, follow the steps, and your garden will thank you.
